
In New Zealand, where I grew up, butter was always affordable and plentiful – especially so as my father worked for the NZ Dairy Board.
When I came over to the UK, I was surprised that so many people baked with margarine but understood that it had always been more affordable than butter.
When I started selling my cakes through Country Markets at Stroud Farmers Market, I had a few people comment that my cakes were too rich! Their palates just weren’t used to the flavour and mouthfeel that butter brings to a product.
A lot of people view margarine as more ‘neutral’ in flavour and believe it produces lighter, softer cakes but that’s not necessarily true – you just have to know how to use butter!
Because butter has a higher fat content and lower moisture content, it produces a moister cake that has a much longer shelf-life – it doesn’t go dry within a couple of days.
Butter is natural
It’s made from the butterfat of milk and sometimes salt is added, historically to preserve it.
Margarine starts off as refined vegetable oil which, to put it very simply, is hydrogenated and then blended with various other ingredients. These can include skim milk powder, preservatives, colourings, acids and salt. Hydrogenation ‘hardens’ the oil to make it solid at room temperature and if this process is incomplete trans fats are produced – these are the bad guys which are believed to be a risk factor for heart disease.
To me it’s a no brainer
To make sure you get the best from butter when using the creaming method to make cakes please see some tips below.
Firstly, always make sure the butter is softened. Either leave it out of the fridge or gently soften it in a microwave using the defrost setting (on bursts of 30 seconds until you get to grips with how powerful your microwave is. If you melt it you’ll need to start again as it won’t cream well). You want it so that your finger creates an indentation in the butter not go right through it.
Using softened butter enables the butter to be whipped up trapping air bubbles and giving your cake lightness.
Using a stand or hand mixer (a stand mixer is less tiring) start combining the butter and sugar on the lowest speed possible. Do this until the 2 ingredients are just combined. This also puts less strain on your mixer.
If you can, take the speed up a notch and beat until it starts to go pale. At this point take the speed up again and beat until the mix is pale, light and fluffy. This can take a few minutes (we always beat our butter and sugar together on high speed for 5 minutes when making sponges).
When it’s ready stop the mixer and scrape the sides of the bowl and the beaters down to ensure all the mix is in the bowl.
You can now start adding your eggs one by one. The mixture shouldn’t curdle but don’t worry if it does – when you add the flour in the next step it will come right.
If you don’t have a stand or hand mixer you can still make it by hand (I remember those days!) but just be warned – it’s a very rigorous workout!
One more thing – if you’re even thinking of making your buttercream with margarine – hang your head in shame!
Jacqui.
Crumbs of wisdom
RSS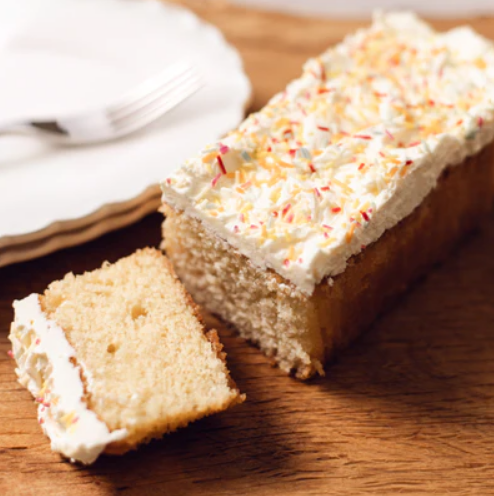
Loaf Cakes to Love: Find Your New Favourite Flavours
Looking for an irresistible, classic favourite to share with your loved ones or give as a gift this spring? Here at Beau's Bakehouse our artisan bakes...
CAKES AND BISCUITS FOR PARTIES & OTHER EVENTS
If you’re having a party or get together and need some cakes & biscuits, contact me & I’ll provide a selection or cook to your...